3D in Tesseract
Create and animate editable 3D scenes.
Build and animate 3D scenes with your AI agent. Edit geometry, materials, lighting and cameras, then combine the result with video in Tesseract.
Read the prompt
Set up Tesseract by Mirage so you can create editable designs and 3D scenes, edit videos, and make motion graphics in this agent’s environment. Read https://github.com/mirage-hq/Tesseract and check the requirements for this local or hosted environment. If it is supported, follow the official plugin or skills installation guide, use its required runtime version, verify the download checksum, and confirm a short preview renders correctly. Then ask what I want to make and which brand references or source assets I have. Keep the editable project and source assets with the finished render.
Give your agent this .tsrct file, then ask for a specific change.
Made in Tesseract
See how light changes a 3D scene.
Path tracing follows light through the scene to render reflections and indirect illumination. The geometry, materials, lights and camera remain available for your agent to revise.
Choose a starting point
What do you want to make?
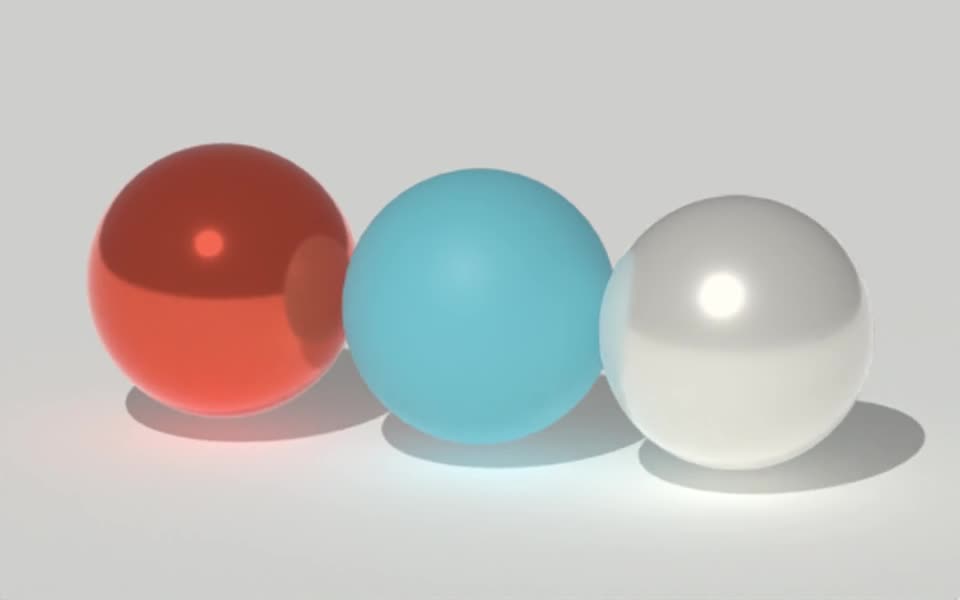
Create 3D product videos
Build an editable product shot with your AI agent. Refine the model, labels, materials, lighting and camera, then render a video in Tesseract.
See the workflow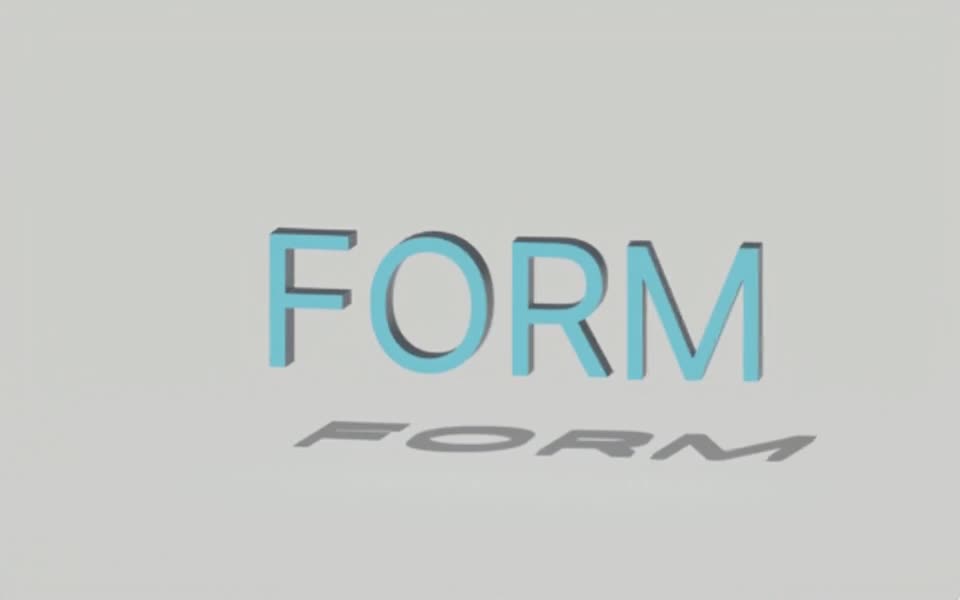
Create 3D logo animations
Turn a logo or wordmark into an editable 3D animation with your AI agent. Control extrusion, bevels, materials, lighting and timing in Tesseract.
See the workflow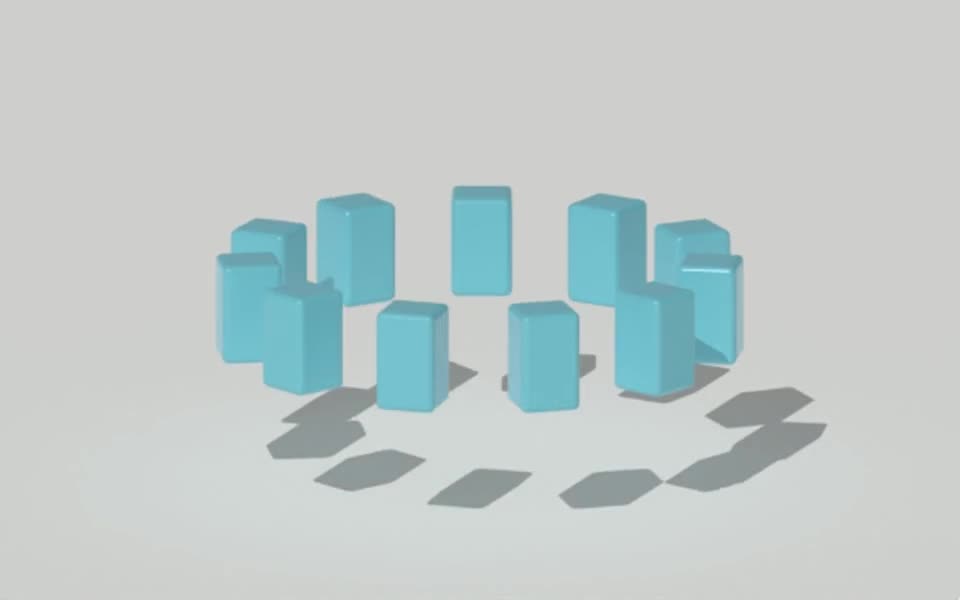
Create 3D motion graphics
Combine animated 3D typography, objects and camera moves with editable video, graphics and sound. Build and revise the full composition in Tesseract.
See the workflow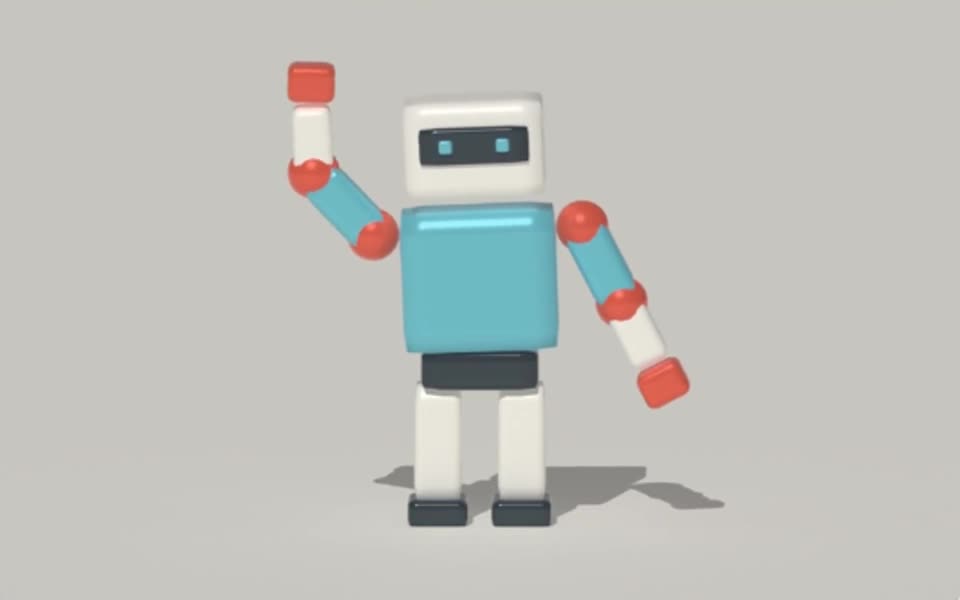
Animate 3D models
Import a supported 3D model, use or build its rig, blend animation clips and revise poses. Keep the model and animation editable in Tesseract.
See the workflowBuild or import the geometry.
Start with shapes, curves or editable meshes. Import a supported Blender or GLB model when you already have an asset, then inspect what transferred before working on the shot.
Direct the motion and lighting.
Animate objects, cameras, text and supported model rigs. Adjust materials, studio lights and environments, then choose a fast raster preview or a path-traced render.
Keep it with the rest of your video.
Combine 3D scenes with footage, editable graphics and sound in one Tesseract project. Use a video or animated graphic as a 3D texture when it needs to appear on a surface.
One editable project
Keep the scene
with the rest of the video.
Change a material, adjust the camera, or replace a headline. Your agent can revise the 3D scene while preserving the approved footage, graphics, and sound.
Explore 2D and 3D compositing- Titles and graphics
Text, layout, timing
- 3D scene
Geometry, materials, lights, cameras
- Footage and sound
Clips, music, dialogue
The workflow
Build it with your agent.
Start with the brief and references. Review the composition and movement before the final render.
Describe the scene and delivery.
Give your agent the subject, reference images, brand assets, duration and aspect ratio. Say whether you need a still, a complete video or a transparent overlay.
Approve the shape and composition.
Start with simple materials and a readable camera angle. Review the silhouette, proportions and spacing before spending time on lighting or a high-quality render.
Refine a preview, then export.
Inspect important frames and a short motion preview. Ask for targeted changes while preserving approved parts. Keep the editable project and its assets with the final export.
A starting point
Give your agent
a concrete brief.
Install or update the official Tesseract skills, attach your references, and adapt this prompt. Ask the agent to check that its runtime includes the 3D tools it needs.
Set up TesseractCopy and adapt this prompt
Use Tesseract to create a 6-second, 16:9 editable 3D scene for [subject]. Use the attached references for proportions, materials and visual style. First build the geometry and show me three camera options with simple lighting. After I choose one, add a slow camera move, deliberate lighting and the agreed materials. Keep objects, materials, lights and animation editable. Combine any titles and supplied audio in the same project. Render preview frames and a short draft, inspect them for framing and continuity, and revise before the final export. Save the .tsrct project with its dependencies.
Review the result
Check the details
before the final export.
Read the silhouette.
Check whether the subject is recognizable before judging materials. Look for incorrect proportions, intersecting parts or a camera angle that hides important details.
Watch the complete movement.
Check the opening, midpoint and ending, then play the draft. A good still can hide a clipped orbit, a sudden rotation or a focus change that misses the subject.
Check the delivery format.
Use a normal video for sharing, SDR ProRes 4444 for transparent video overlays, or a supported HDR export when needed. Confirm the file in the player or editor where it will be used.
Example follow-up
Keep the geometry, timing and camera move. The subject is too close to the right edge, and the bright reflection hides its shape. Adjust those two issues and show the affected frames again.
The 3D tool library
Find the control
for the change you want.
Each tool has an explanation, an example, and a prompt. Explore by task, or search the full feature library.
Build and revise geometry
Start from primitives, curves, editable meshes, or an imported model.
- 3D boolean operations
- 3D arrays and cloners
- Bevels
- Subdivision surfaces
- Curve-based modeling
- Shrinkwrap
- 3D model import
- Editable polygon modeling
- 3D sculpting
- UV mapping and unwrapping
- Geometry displacement
- Cloth simulation
- Soft-body animation
- Surface scattering
- Bend, twist, and lattice deformation
- Mesh simplification, remeshing, and LODs
Create materials and surfaces
Change the finish, add a label, or put an editable video onto a surface.
Light the scene
Place lights, choose what they affect, and shape their contribution.
Animate objects and cameras
Direct movement with keyframes, paths, rigs, and editable relationships.
Render and combine the result
Choose the optics and renderer, then combine 3D with your video and graphics.
Useful details before you start.
Does Tesseract generate a 3D model from a single prompt?
Your agent can author supported geometry, edit meshes and assemble imported assets through Tesseract. Tesseract is a creative runtime, not a built-in text-to-mesh generation model. A complex real object may need a supplied model or a separate modeling workflow.
Can I mix 3D with my existing video project?
Yes. A 3D scene can sit alongside footage, text, graphics and sound in the same editable composition. Independent 2D layers do not automatically share the scene’s depth or appear in its reflections. Use them as material or environment sources when they need to interact inside the 3D scene.
Do I need Blender installed?
No Blender installation is needed to create native Tesseract scenes or import a supported .blend file. Blender import is partial and reports conversion diagnostics; it does not execute every Blender modifier, shader, simulation or add-on.
Where does the 3D scene render?
The native runtime renders in the supported environment where your agent runs it. Path tracing is an offline native rendering option; it is not browser or iOS realtime playback. A hosted environment without a suitable GPU can be much slower, so test a small preview before requesting a full render.
How do I get the 3D tools?
Install or update the official Tesseract plugin or skills in a compatible agent, including the 3D skill. Ask the agent to follow that skill’s required runtime version and confirm it can create and render a small Scene3D project before starting your work.
Go further with a practical guide.
3D prompt guide
Write a useful 3D brief for your agent: references, scale, camera, materials and timing. Learn what to inspect and how to request targeted revisions.
ExploreImport Blender and GLB models
Bring .blend and .glb models into Tesseract without installing Blender. Prepare textures, inspect conversion warnings and compare a rendered preview.
ExplorePath tracing guide
Choose raster or path tracing for your 3D scene. Review reflections, adjust sampling, and estimate render time before exporting in Tesseract.
Explore