Bring a Blender or GLB model into your project.
Import supported .blend and .glb files into Tesseract. Let your agent inspect the model, conversion diagnostics, materials and animation before building a scene.
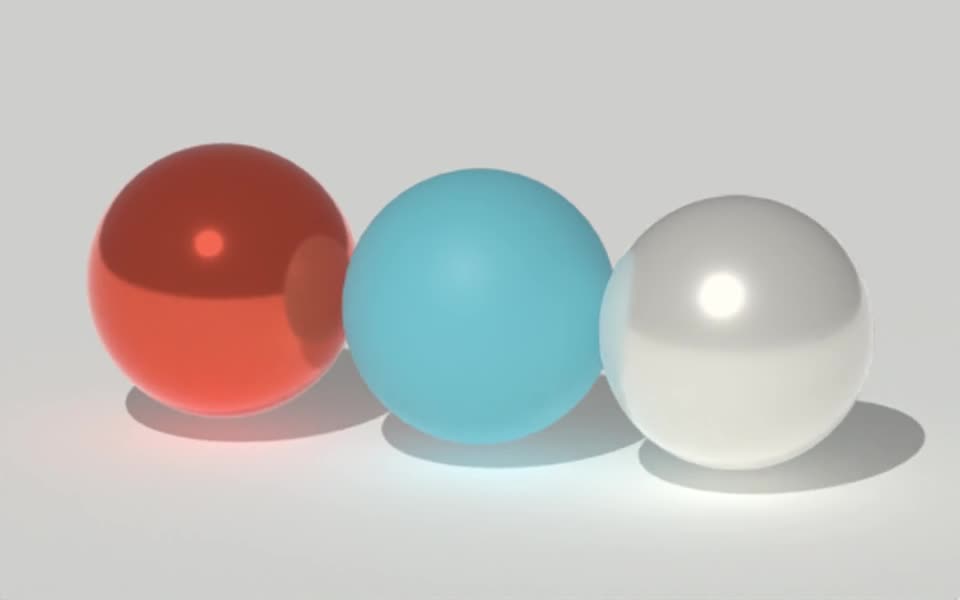
Rendered in Tesseract with path tracing at 128 samples per pixel. Download the editable project to revise the scene.
Give your agent this .tsrct file, then ask for a specific change.
Try it in your agent.
Use this prompt as a starting point. Review the result, then ask for the details you want to change.
A prompt to start from
Import the supplied model into Tesseract. Read the conversion diagnostics and list the available objects, materials, clips and morph targets. Render a neutral turntable so I can check the import before styling it. Keep the original file. Then change only the lighting and camera; preserve the model’s proportions and any approved material details.
New to Tesseract? Find the setup for your agent.
Keep control of the result.
- Supported inputs
- Import binary glTF .glb or use native conversion for supported Blender .blend content.
- Assets and diagnostics
- Package supported dependencies and review missing or approximated source features.
- Editable material extraction
- Convert supported imported material inputs into editable Tesseract material definitions.
- Controlled reimport
- Use explicit source-key mappings when replacing a model while preserving intended edits.
A few useful details.
Do I need Blender installed?
Tesseract can convert supported .blend content without running Blender. That does not mean every Blender feature transfers with full fidelity.
What needs checking after import?
Inspect modifiers, materials, constraints, animation and linked assets. Unsupported features may be approximated, omitted or rejected. Compare a preview with the source rather than treating successful import as visual validation.
Can I import OBJ, FBX or USD directly?
Import .glb and supported .blend files. Convert other model formats first. Keep your original model file: this workflow exports Tesseract projects, stills and video rather than scenes for Blender, FBX or USD.
How do I try this with my agent?
Install or update Tesseract in a supported agent, attach your source files, and copy the prompt. Review the preview, then ask for the changes you want. The composition stays editable as you refine it.
Where does the video render?
Tesseract renders in the environment where your agent runs it, including supported local computers and hosted Linux environments. The engine is free; your agent’s subscription or usage costs are separate.
Put it to work in a project.
See how this tool fits into a complete, editable project.
Try these next.


Your next creative project, made with your agent.
Install Tesseract in your agent, bring a brief, and start creating.
Free on Mac, Windows, and Linux. Your agent’s costs are separate.
Read the prompt
Set up Tesseract by Mirage so you can create editable designs and 3D scenes, edit videos, and make motion graphics in this agent’s environment. Read https://github.com/mirage-hq/Tesseract and check the requirements for this local or hosted environment. If it is supported, follow the official plugin or skills installation guide, use its required runtime version, verify the download checksum, and confirm a short preview renders correctly. Then ask what I want to make and which brand references or source assets I have. Keep the editable project and source assets with the finished render.