Let light spread beneath a surface.
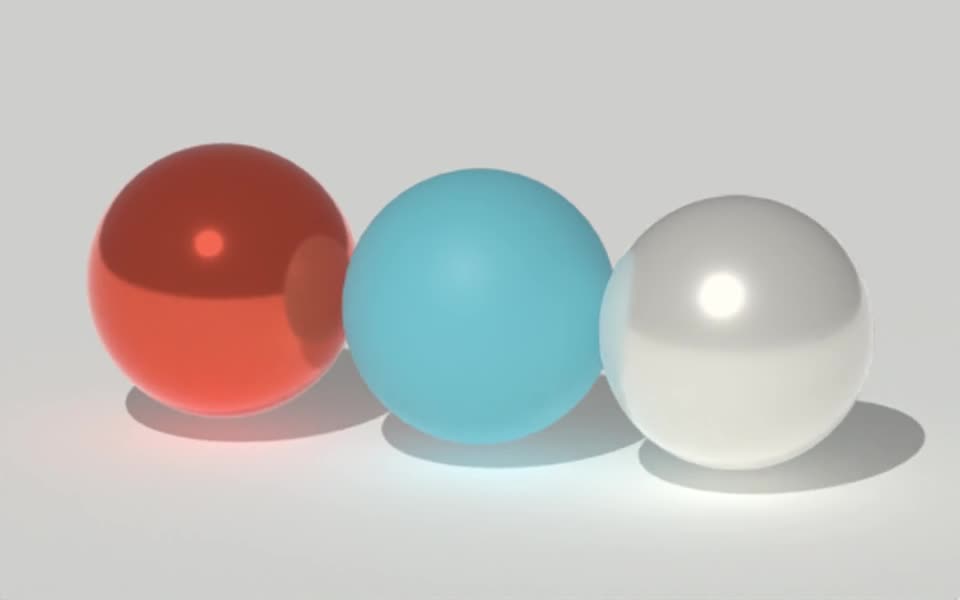
Create wax-like and other translucent 3D materials with subsurface scattering. Adjust scattering color and distance through your agent, then inspect the render.

Give your agent this .tsrct file, then ask for a specific change.
Try it in your agent.
Use this prompt as a starting point. Review the result, then ask for the details you want to change.
A prompt to start from
Create a closed, softly rounded Tesseract object with a wax-like material. Light it from the side and slightly behind so thin edges show scattering. Use the raster renderer to make a still comparison with subsurface scattering off and on. Compare a restrained scattering amount with a stronger version, keeping geometry, exposure and camera unchanged. Save the editable material and scene.
New to Tesseract? Find the setup for your agent.
Keep control of the result.
- Scattering amount
- Balance the surface response with light spreading beneath it.
- Scattering color
- Choose the color of the light transported through the material.
- Per-channel radius
- Adjust how far different color channels scatter.
- Geometry and lighting
- Use suitable closed geometry and check the effect at thin and thick parts of the model.
A few useful details.
Is this the same as transparent glass?
No. Glass mainly transmits and refracts light through the surface. Subsurface scattering spreads light inside a material before it exits.
Do both renderers use the same method?
No. Path tracing uses a random-walk scattering method; raster rendering uses screen-space diffusion. Judge the final look with the intended export renderer.
Will every mesh work equally well?
No. Open, overlapping or unusually thin geometry can produce misleading results. Inspect the model and compare representative preview frames before committing to a final render.
Which renderer does this example use?
This example uses raster rendering. Some Metal devices cannot compile the v0.5.0 path-tracing pipeline for this material. Test a small preview on your rendering machine before planning a longer export.
How do I try this with my agent?
Install or update Tesseract in a supported agent, attach your source files, and copy the prompt. Review the preview, then ask for the changes you want. The composition stays editable as you refine it.
Where does the video render?
Tesseract renders in the environment where your agent runs it, including supported local computers and hosted Linux environments. The engine is free; your agent’s subscription or usage costs are separate.
Put it to work in a project.
See how this tool fits into a complete, editable project.
Try these next.


Your next creative project, made with your agent.
Install Tesseract in your agent, bring a brief, and start creating.
Free on Mac, Windows, and Linux. Your agent’s costs are separate.
Read the prompt
Set up Tesseract by Mirage so you can create editable designs and 3D scenes, edit videos, and make motion graphics in this agent’s environment. Read https://github.com/mirage-hq/Tesseract and check the requirements for this local or hosted environment. If it is supported, follow the official plugin or skills installation guide, use its required runtime version, verify the download checksum, and confirm a short preview renders correctly. Then ask what I want to make and which brand references or source assets I have. Keep the editable project and source assets with the finished render.