Professional color grading
Color grade your videos with your agent.
Color grade videos with your AI agent. Work with supported camera log footage, ACES, 3D LUTs, curves, selective corrections, and HDR in editable Tesseract projects.
Read the prompt
Set up Tesseract by Mirage so you can create editable designs, edit videos, and make motion graphics in this agent’s environment. Read https://github.com/mirage-hq/Tesseract and check the requirements for this local or hosted environment. If it is supported, follow the official plugin or skills installation guide, use its required runtime version, verify the download checksum, and confirm a short preview renders correctly. Then ask what I want to make and which brand references or source assets I have. Keep the editable project and source assets with the finished render.
About this example
Footage generated with Seedance 2.5. The grade and comparison layout were created in Tesseract. The editable project includes the footage, primary grade, and hue curves.
The example
Compare a portrait before and after grading.
Compare the original garden portrait with a warmer grade and lifted shadows. A second version reduces saturation in the greens while keeping the same warm treatment.
Convert camera log footage.
Normalize supported camera log footage with a defined input transform. Keep that technical conversion separate from the creative look.
Adjust tones and individual colors.
Adjust tonal balance, RGB and hue curves, selective color, and 3D LUTs. Target a color range or a masked area when the whole image does not need to change.
Grade footage separately from graphics.
Keep footage, typography, animation, and sound together. Apply a grade to the footage while preserving approved brand colors in separate graphics.
Give precise creative direction
“Warmer highlights.
Less green.
Keep the skin natural.”
Describe the difference you want to see. Your agent can choose the controls, render a comparison, and continue refining the same project.
Overall balance
Exposure, white balance, contrast, and tonal shaping.
Specific colors and areas
RGB and hue curves, selective color, qualifiers, and masks.
Input and output color
Camera input transforms, ACES, 3D LUTs, and SDR or HDR output transforms.
How to create and review your video.
Provide source footage and a color reference. Compare sample frames, then review the full video.
- 01
Provide the source and a reference.
Share the original footage and its camera profile if known. Add a reference image or describe the palette, contrast, and mood you want.
- 02
Approve a look on a few frames.
Ask for a neutral starting point and a creative grade. Compare skin, whites, saturated colors, and highlights before applying the treatment across the edit.
- 03
Refine the moving sequence.
Watch the full draft for shot-to-shot variation and corrections that affect unwanted areas. Give focused feedback and export only after review.
Try it with your footage
Copy this prompt to your agent.
Install or update Tesseract, attach your files, and replace the bracketed details. Ask the agent to confirm that its runtime supports this workflow before it begins.
Find your setup guideColor grade a video
Color grade the attached video in Tesseract. Inspect the source color information and confirm the grading workflow is supported by the installed runtime. If the footage is log, identify the supplied camera profile and normalize it once before adding a creative look. Aim for [describe the look or attach a reference]. Show the source, neutral starting point, and proposed grade on representative frames. Keep skin tones believable and retain highlight detail. Keep logos, captions, and motion graphics outside the footage grade. Render a draft, review the whole sequence, and make targeted revisions in the same editable project before export.
Check these details before export.
Review a few representative frames, then watch the complete sequence. Point out the differences instead of prescribing every setting.
Skin and familiar colors
Use faces, neutral objects, and known brand colors as reference points. A strong overall look should not make them unintentionally unnatural.
Selective corrections in motion
Watch the full clip. A qualifier that works on one frame can spill into other objects or reveal an edge as the subject moves.
Consistency across the edit
Compare adjacent shots at their cut points. Ask for individual corrections where exposure or lighting differs; a shared look alone may not be enough.
Example follow-up
Keep the contrast and warm highlights. The foliage is too saturated, and the face has picked up a green cast. Correct those issues without changing the logo, typography, or edit. Show the revised frame beside the approved version.
Color grading questions and answers
Can I color grade a video with ChatGPT or Claude?
With Tesseract installed in a compatible agent environment, your agent can apply grading controls to an editable project. Describe the look, provide footage and references, and review rendered previews. The agent interprets your direction; Tesseract performs the image processing.
Does Tesseract support ACES?
Tesseract includes an ACES color workflow with supported camera input transforms, ACEScct grading, and ACES output transforms for SDR and HDR. It does not load arbitrary OpenColorIO configurations. Confirm that your source color space and intended output are supported before grading.
Can I apply my own LUTs?
Yes. Tesseract supports 3D .cube LUTs. Tell your agent whether a LUT is a technical camera conversion or a creative look, and provide the color space it expects. A LUT designed for one input should not be applied indiscriminately to another.
Can I change one color without changing the whole image?
Use hue curves, selective color, or color qualifiers to target a range. Spatial masks can further limit where a correction applies. Review moving footage for spill and edge artifacts; a color qualifier is not automatic object tracking.
Will grading change my captions, logo, or graphics?
It depends on where the grade is applied. Keep brand graphics on separate layers and ask for a footage-only grade. Your agent can also apply a treatment to a selected group or the whole composition when that is the intended result.
Related examples and guides.
See how to apply these tools to other video projects.
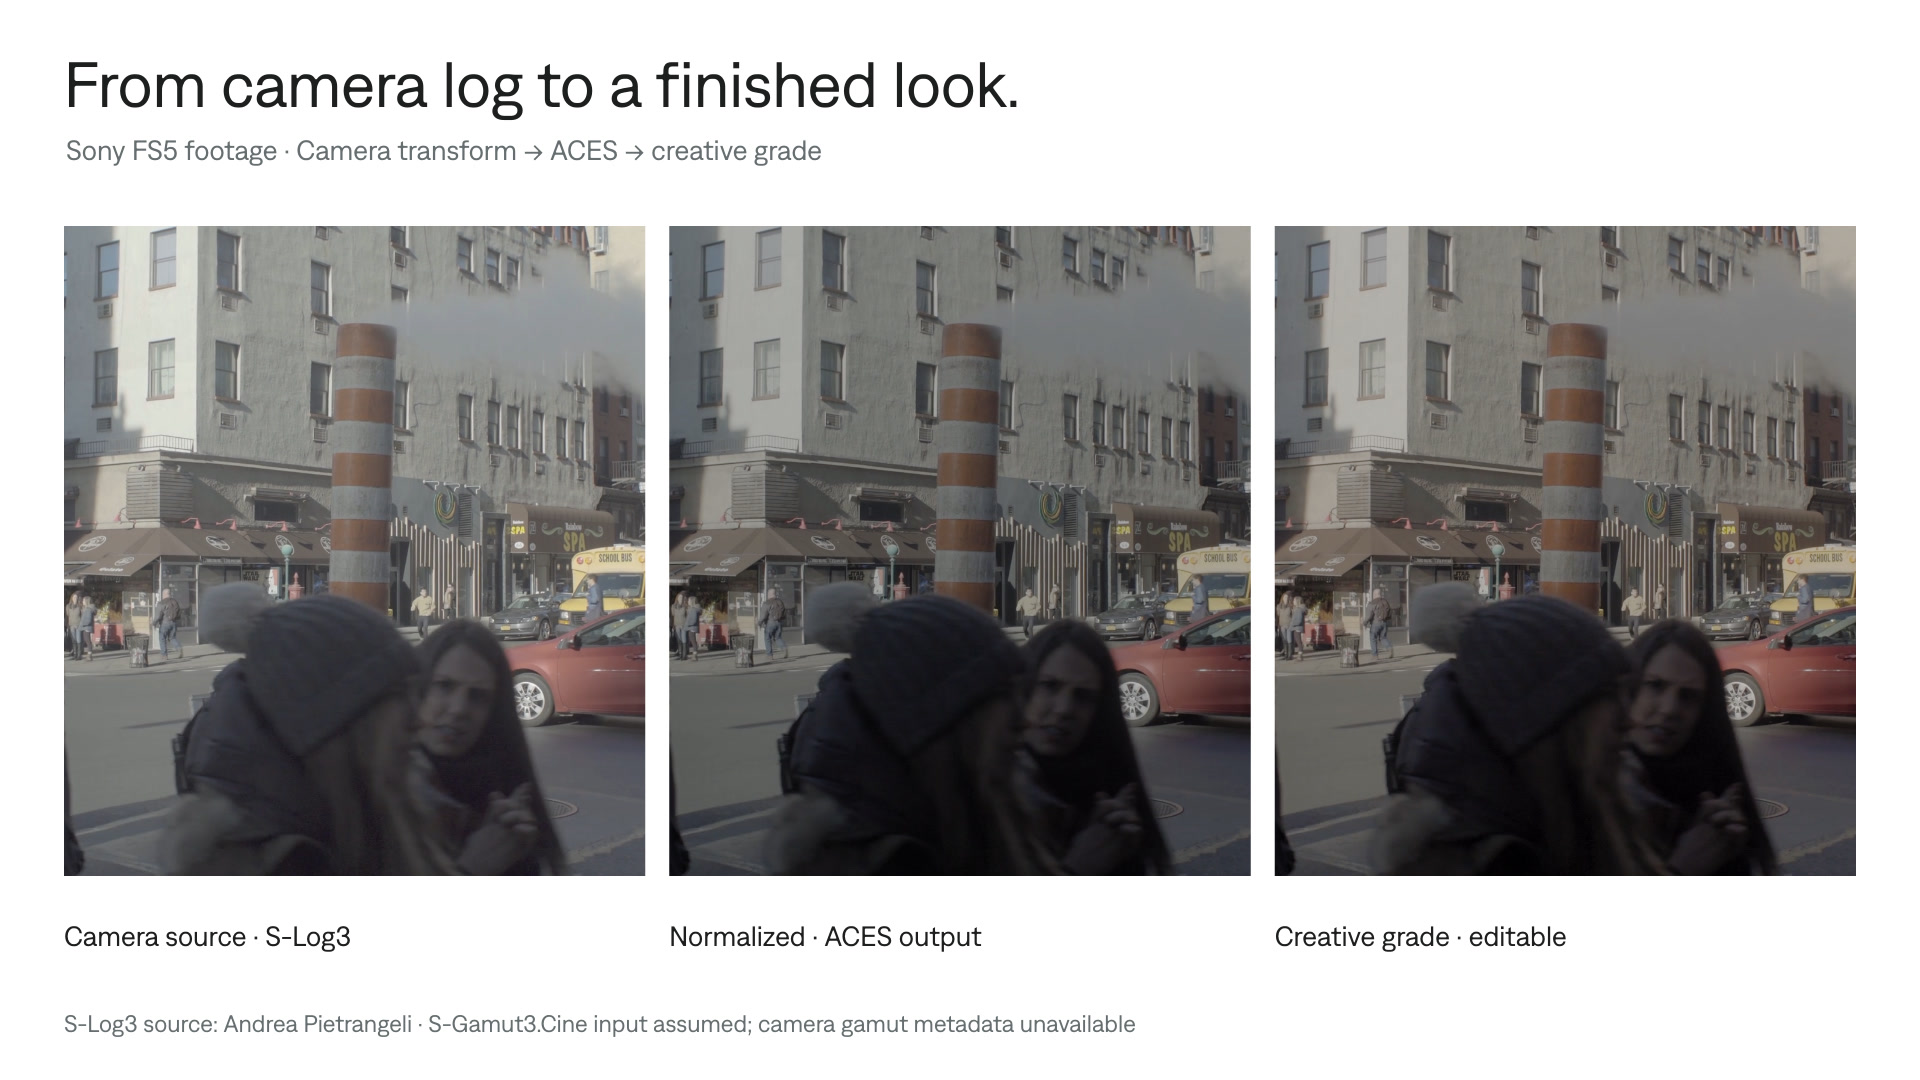
Color grade camera log footage
Bring supported camera log footage to your agent. Normalize the input, create a look, and refine the grade in an editable Tesseract project.
Explore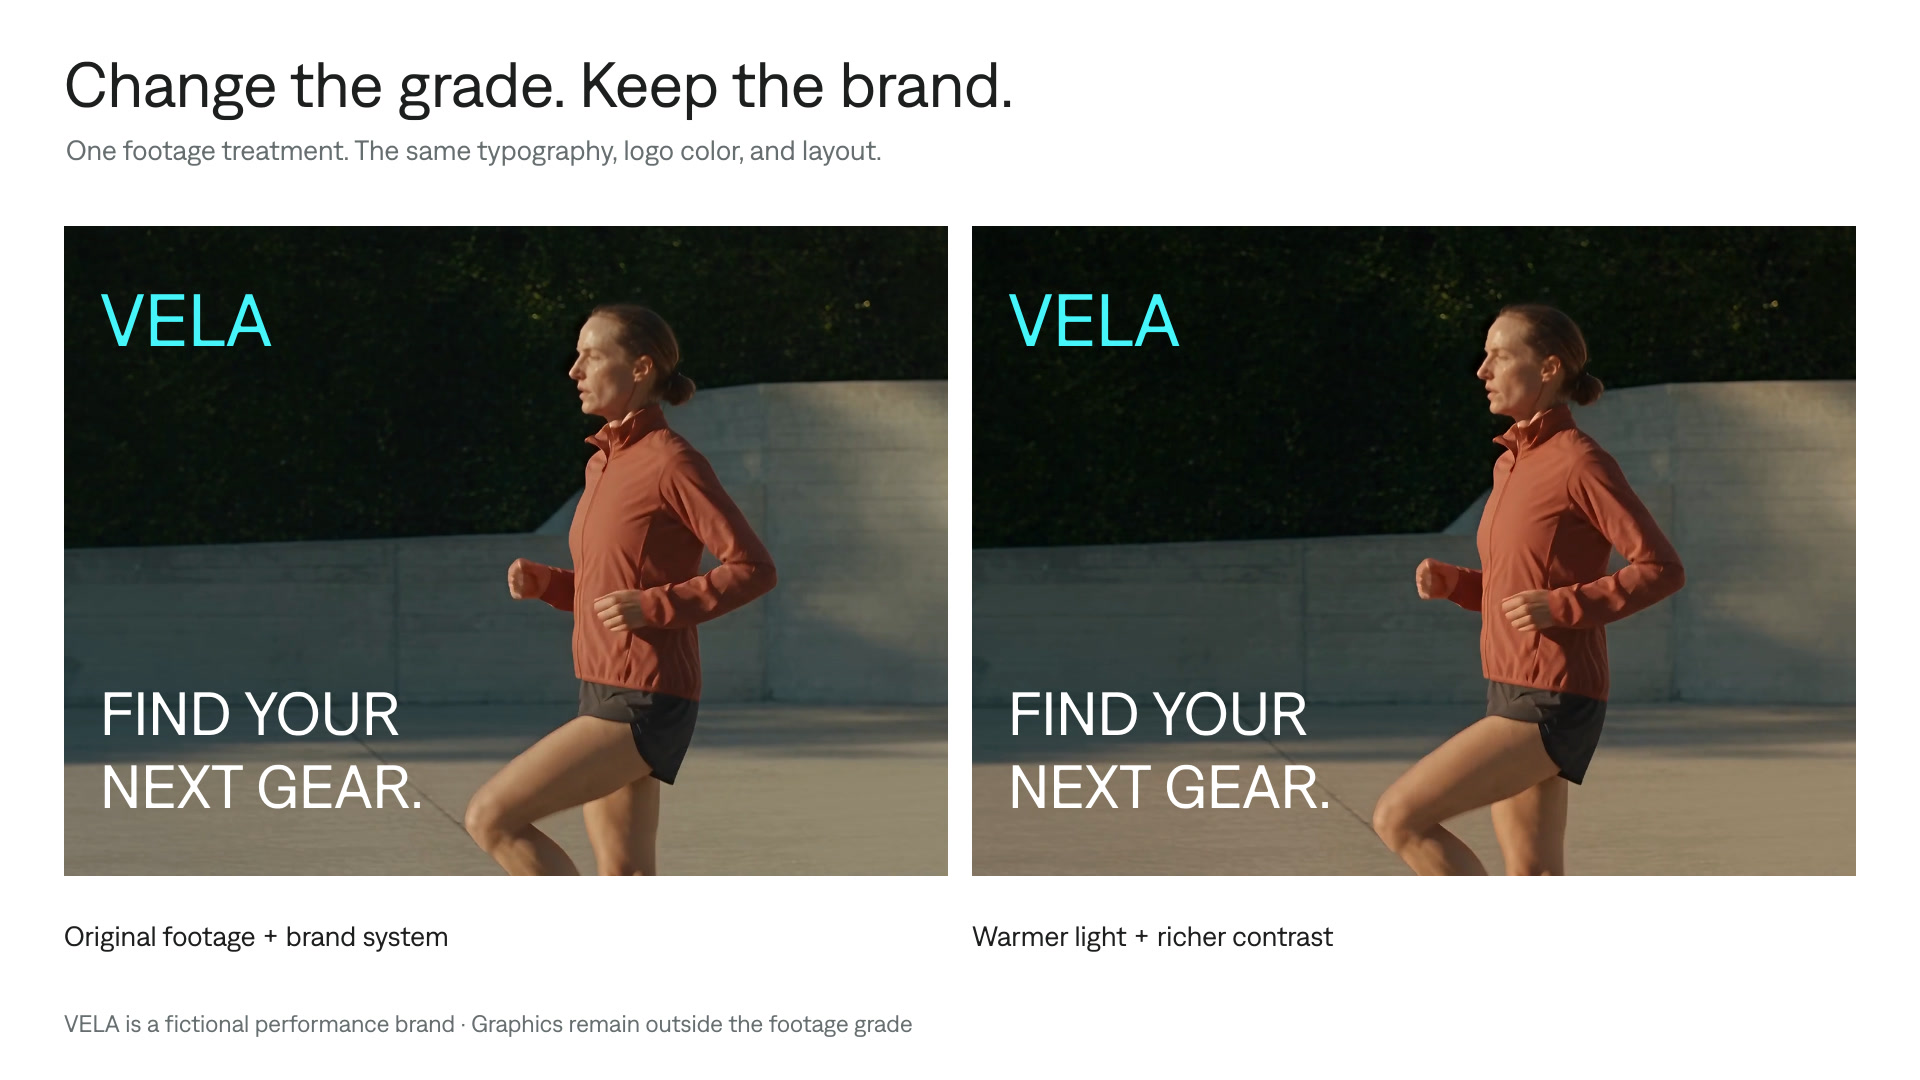
Grade footage, preserve brand colors
Give an ad or social video a new look while preserving approved logos, captions, and graphics. Apply a footage-only grade in an editable Tesseract project.
Explore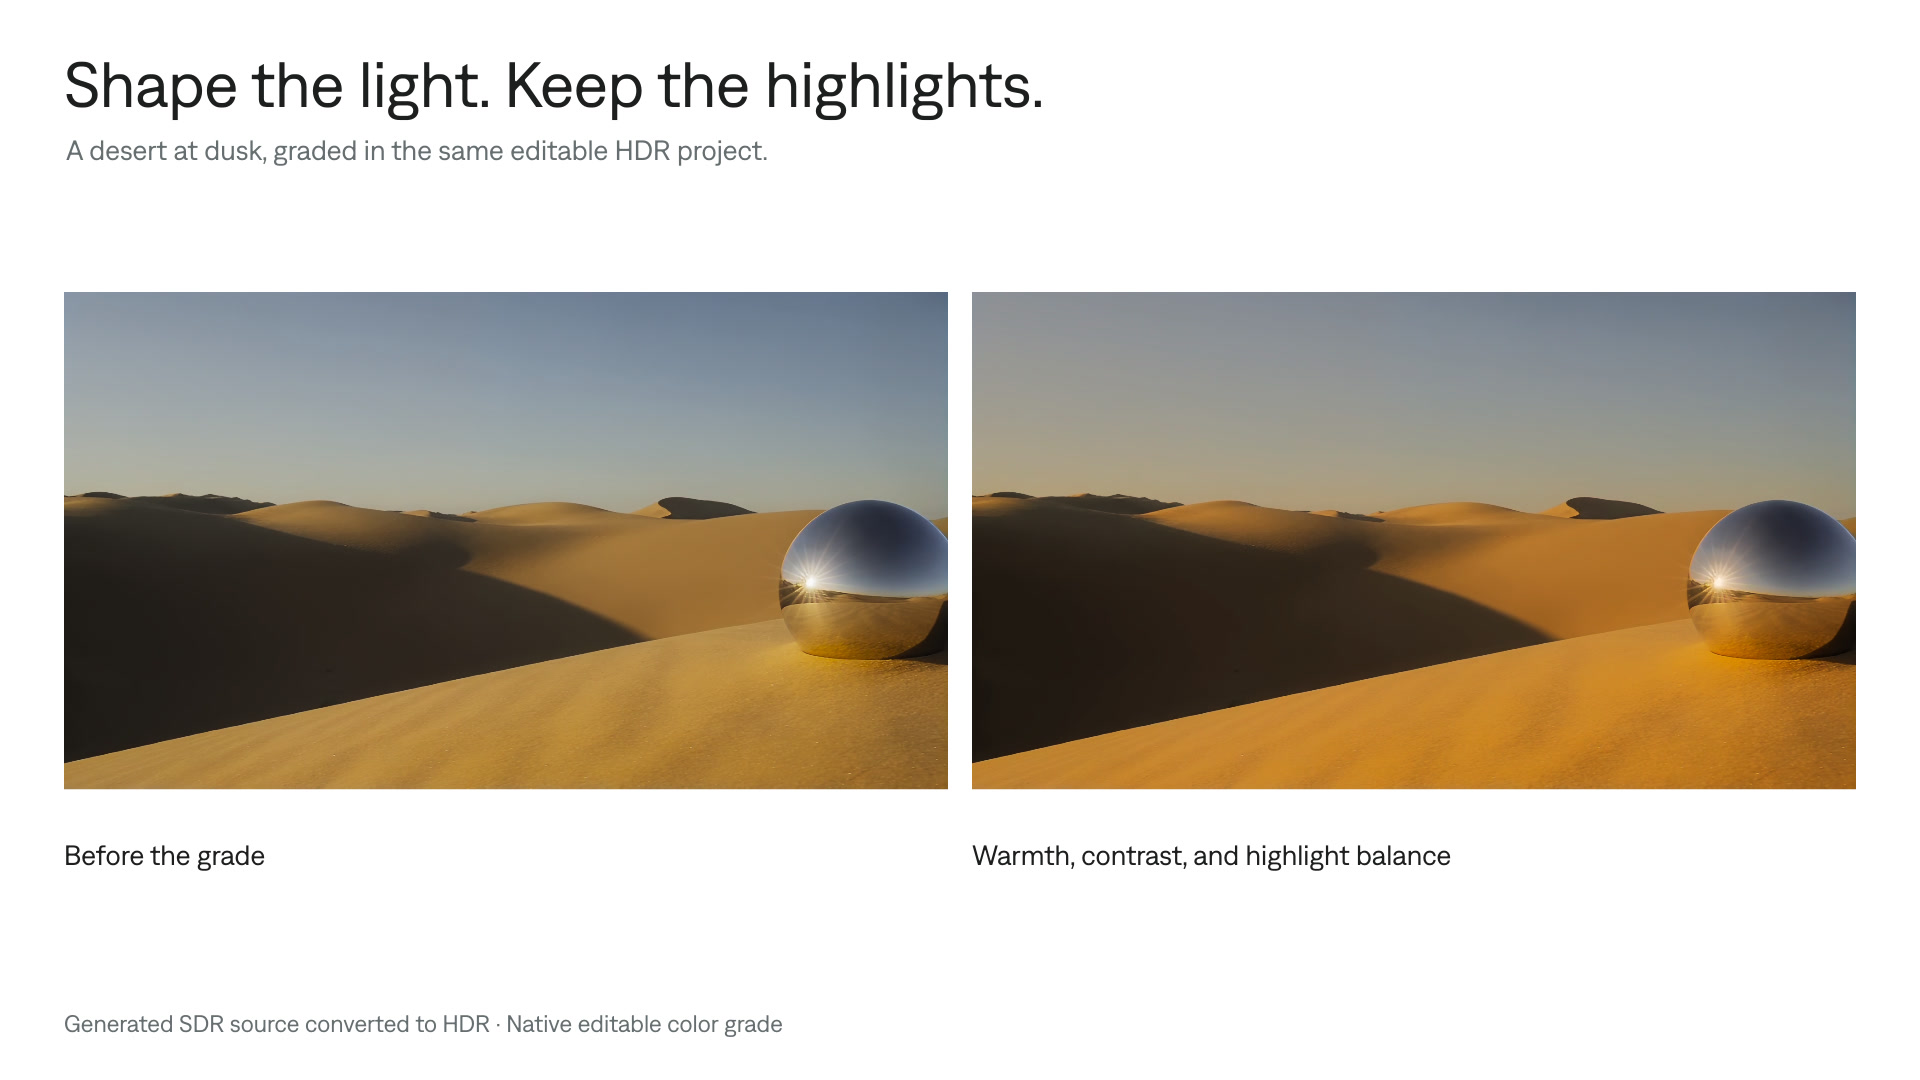
Color grade HDR video
Refine the color of HDR footage while preserving bright details. Follow a Tesseract workflow for grading, previewing, and delivering HDR and SDR versions.
Explore